
How to Choose a Mini Excavator for Digging a Pond
A mini excavator may be enough for a pond that looks like a job for larger plant. An excavator for digging a pond can reach depths of 5 to 12 feet, depending on the machine and ground conditions, and is generally suited to ponds under 12 feet deep. The key is matching its digging depth and working space to your pond design.
If you’re planning a pond, choosing the right excavator for digging a pond is only part of the job. You’ll also need to consider the depth profile, site access, underground utilities and any permissions that may apply.
This guide explains how to assess whether a mini excavator suits your project, compare the planned depth with machine capability and decide what to consider before hiring. You’ll also find practical guidance on shaping the pond and planning spoil removal, so you can make an informed choice about the equipment your site needs.
Table of Contents
Can You Dig a Pond with a Mini Excavator?
Yes, a mini excavator can dig a pond if its reach, capacity and working space suit the design. Compare the planned depth and ground conditions with the machine’s capabilities before choosing.
Compare Mini and Standard ExcavatorsChoose an excavator for digging a pond by matching its reach to your planned dimensions and depth. Mini excavators can dig ponds between 5 and 12 feet deep, depending on the model and soil conditions; they are generally recommended for ponds under 12 feet deep. A small garden pond often takes a day or two to dig with a mini digger. Larger ponds or difficult ground can take longer, so consider a standard excavator where greater capacity suits the job.
Choose a Machine for Pond ExcavationMatch machine size and bucket to the pond’s dimensions, depth and shape. A 6-tonne excavator can suit a UK farm or wildlife pond, while a garden wildlife pond may suit a 1.8 to 2.5 tonne mini digger. A general-purpose digging bucket handles the main excavation; a grading bucket can refine edges and smooth sides. For plants, plan a shallow shelf and at least 18-24 inches of water. The excavator for digging a pond should also leave a smooth surface, clear of sharp debris, if you plan to install a liner. EPDM rubber is a flexible, durable liner option.
Assess Ground Conditions and Site AccessAssess the soil, working space and route to the excavation before selecting a machine. Heavy clay or soft, wet ground can affect progress and spoil handling, while narrow gates or tight turning space may rule out a larger excavator. On an open site, a conventional tail-swing compact excavator offers greater lifting capacity and digging force. A zero-tail-swing model keeps its rear within the track width as it turns, which can help in confined spaces. Ground conditions and access all influence the machine choice, work sequence and hire duration.
Plan Spoil Removal or ReuseDecide where topsoil and excavated material will go before digging begins. Keep suitable topsoil separate for landscaping, and plan a clear route for moving other spoil to a stockpile or off-site. Loading directly onto a nearby bank can be quicker than moving soil across a wet field in dumpers. In England, a large raised reservoir holding 25,000 cubic metres or more above natural ground level falls under reservoir safety law, according to the Environment Agency. If an existing pond may contain great crested newts, seek advice from Natural England before disturbing it.
Mini excavator suitability and digging depth
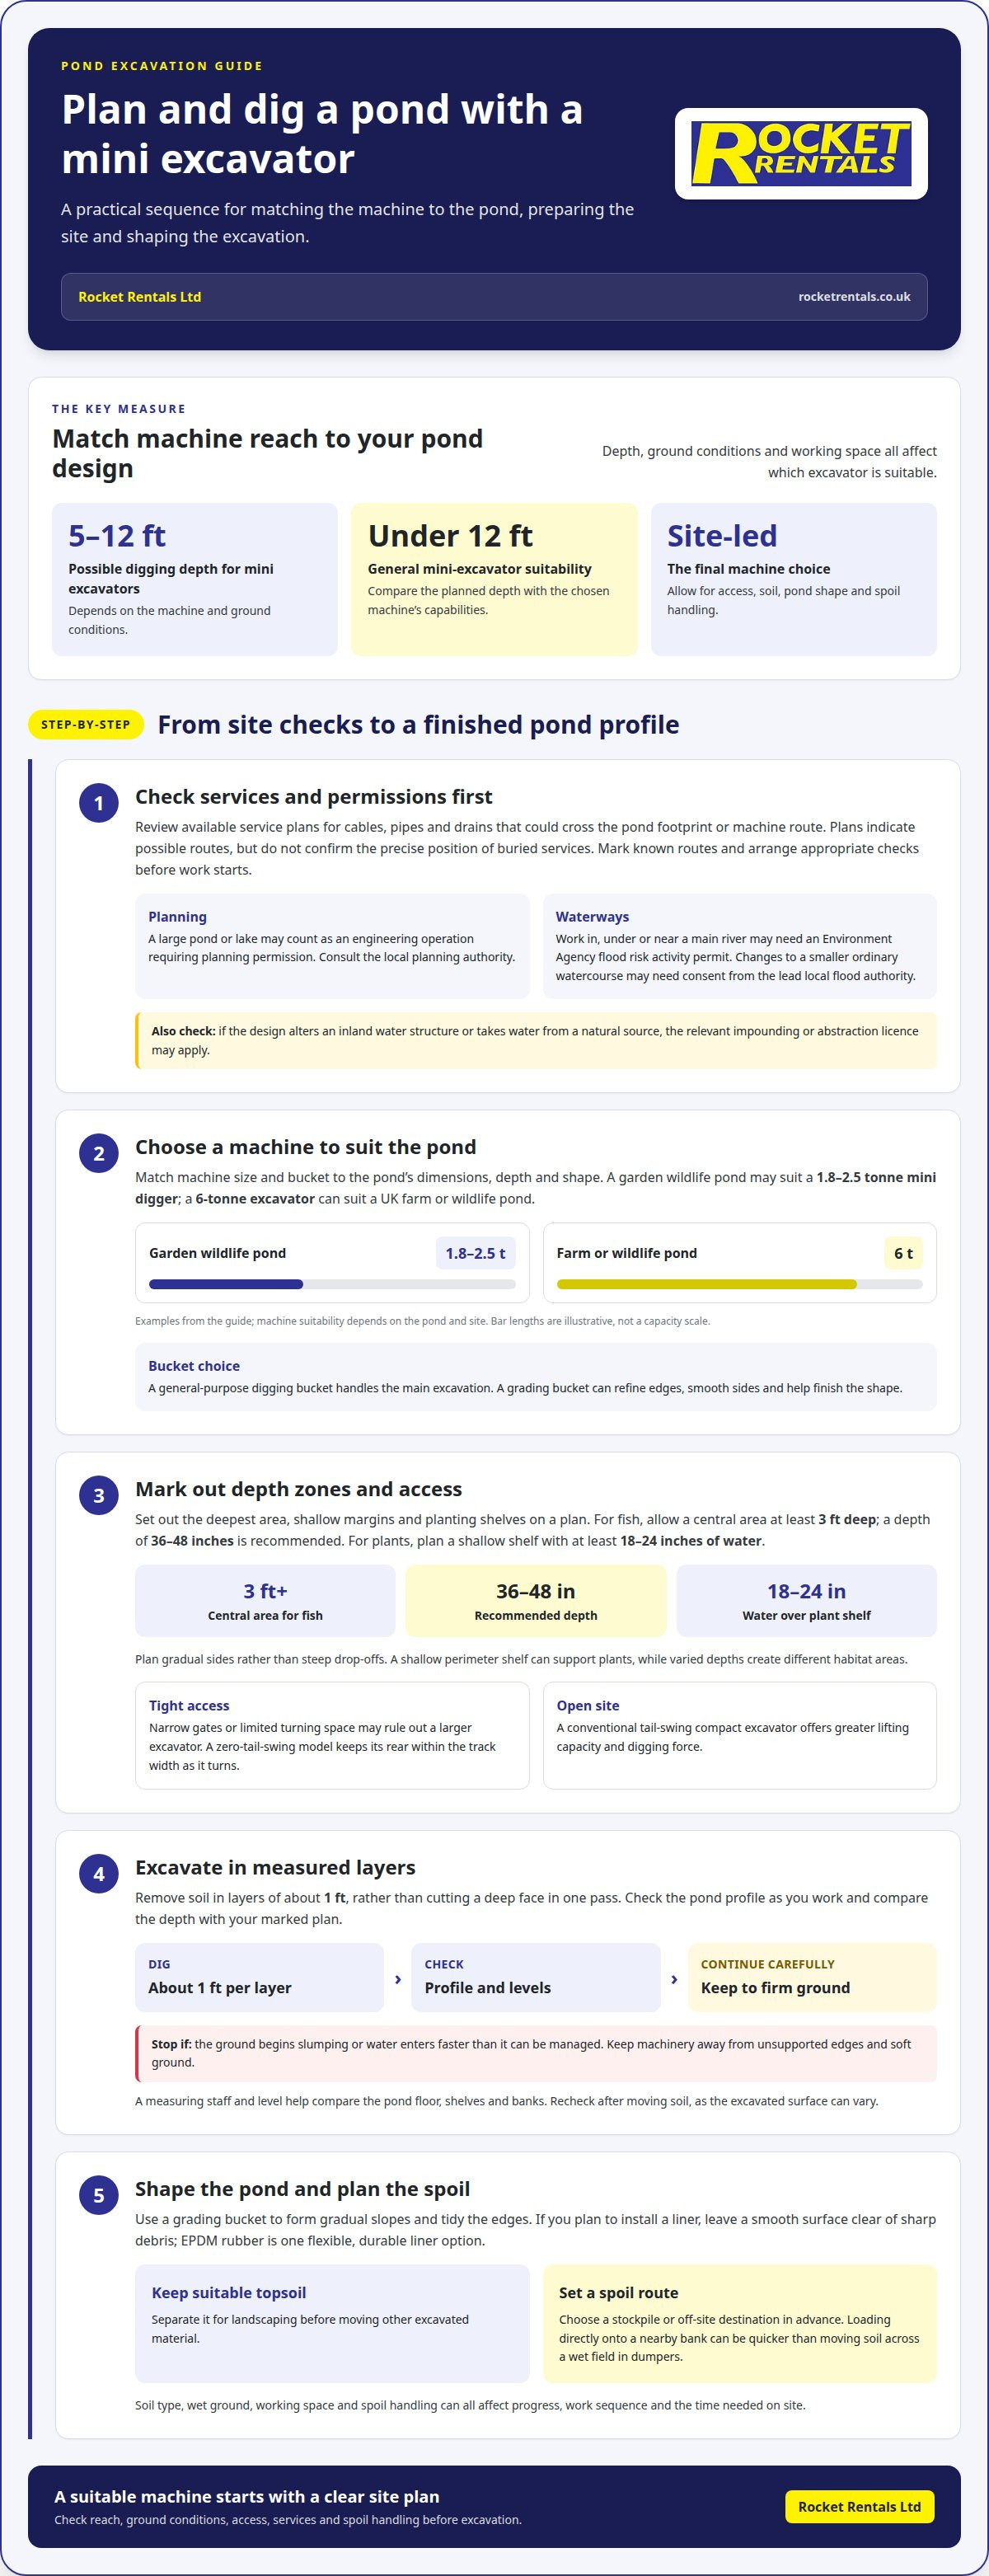
Set out the pond profile before choosing a compact excavator. Mark the deepest area, shallow margins and any stepped planting shelves on a plan. For fish, allow a central area at least 3 feet deep; a depth of 36-48 inches is recommended. These dimensions help you assess whether the machine can reach the lowest point from stable ground.
Shape the pond with gradual sides rather than steep drop-offs. Sloped edges make access easier for wildlife and avoid abrupt changes in depth. A shallow shelf around the perimeter can support plants, while deeper and shallower zones create varied habitat. Use a grading bucket to form the slopes and tidy the edges after digging.
Excavate in layers of about 1 foot, rather than cutting a deep face in one pass. This approach helps maintain stable edges and gives you opportunities to check the profile as work progresses. Stop if the ground begins slumping or water enters faster than it can be managed. Unstable soil and water ingress can undermine the excavation, so keep machinery away from unsupported edges.
Check depth and levels at each stage against your marked plan. A measuring staff and level help you compare the pond floor, shelves and banks; recheck after moving soil, as the excavated surface can vary. Keep the machine on firm ground and avoid placing its tracks close to soft edges. A general-purpose bucket suits bulk digging, while a grading bucket helps finish the shape. Excavator attachments can help match the tool to each stage.
Checking for underground utilities and permits
Gather utility information before marking out the pond footprint. Review available service plans and identify cables, pipes and drains that could cross the excavation or machine route. Plans can indicate possible routes, but they don’t establish the precise position of buried services. Clearly mark known routes, keep excavation away from them and arrange appropriate checks before work starts. Include garden sheds, outbuildings and access tracks in the planned work area.
Check which planning rules apply to the proposed pond. A large pond or lake may count as an engineering operation requiring planning permission, so consult the local planning authority about the site and design. If work is in, under or near a main river, an Environment Agency flood risk activity permit may be required. Changes to a smaller ordinary watercourse may need consent from the lead local flood authority.
Assess whether the design alters an inland water structure or takes water from a natural source. In England, building, altering or removing a dam, weir or other structure in inland waters generally requires an impounding licence from the Environment Agency before work starts. In England, taking more than 20 cubic metres of water daily from a river, stream or groundwater usually requires an Environment Agency abstraction licence.
Resolve these checks before bringing an excavator onto the site. Permissions depend on the pond’s location, its connection to waterways, the work planned and any proposed water abstraction. Keep the design, site plan and relevant permissions together, then make sure the excavation boundary avoids marked services and watercourse features. A garden pond away from rivers may involve different considerations from a farm pond beside a stream or dam.
Excavator rental for pond projects
Define the work before selecting a hire machine. Record the pond’s length, width, deepest point, access route and intended spoil location. These details help match excavator reach and size to the site, rather than choosing by pond area alone. A lake or large irrigation reservoir in the UK may call for a 9 tonne excavator, while restricted access can favour a smaller machine.
Plan how the machine will work alongside spoil removal. Loading directly onto a nearby bank can be quicker than loading dumpers that travel across a wet field. Include the dumper route, turning space and ground firmness in your site plan. If soil must be moved across the site, allow for that in the hire period and work sequence.
Choose the bucket for the task and confirm that the attachments suit the excavator. A general-purpose digging bucket can handle the main excavation, while a grading bucket can shape the edges and smooth the pond sides. Set out the digging sequence and the location for separated topsoil before delivery, so the machine can work without repeated repositioning.
Choose self-drive hire based on your experience with the machine. If you’re unfamiliar with operating an excavator, arrange for a qualified operator rather than learning during pond excavation. For self-drive work, arrange delivery to firm, accessible ground and inspect the machine before use. Check the controls, tracks, bucket connection and visible fluid leaks, then report any concerns before digging.
Confirm the practical hire arrangements before the machine arrives. Agree delivery access, where the excavator will be unloaded, the intended working area and how collection will take place. Keep the marked excavation plan and spoil route ready for the start of the job. For help choosing equipment for your pond project, arrange excavator hire.
Rocket Rentals
Rocket Rentals Ltd can help you choose hire equipment suited to your pond design, site access and planned work. Mini Digger Hire and Excavator hire offer options for different project scales, while equipment inspection supports consideration of its condition before work begins. Roller Hire may suit site preparation, and Welfare Unit Hire can provide on-site facilities.
Have your pond dimensions, access route and spoil plan ready to discuss. These details help focus the equipment choice on your project’s requirements. Rocket Rentals Ltd is a well-established, family-run business operating across the UK. Contact Rocket Rentals Ltd to discuss equipment for your pond project.
Turn your pond plan into a practical next step
A pond design is easier to put into practice when its shape, access route and excavation sequence are clear. Before arranging machinery, bring those details together with your intended spoil area and any site constraints. This gives you a useful basis for discussing whether an excavator for digging a pond fits the work or whether a different machine size would better suit the ground and layout.
Plan for more than the excavation itself. The order of digging, moving soil and finishing the surrounding area can affect how smoothly the project progresses. A clear plan helps you make decisions before equipment arrives and keeps the hire discussion focused on practical requirements.
If you're ready to discuss machinery for your pond project, contact Rocket Rentals Ltd about your project. With the right preparation, you can move forward with greater confidence and make a considered start on shaping your pond.
Frequently Asked Questions
What size excavator is best for digging a pond?
The best size depends on the pond’s layout, digging reach and the space available for the machine. Mini diggers in the 1.5 to 3 tonne range suit many smaller projects, but a narrow entrance or restricted turning area may affect the choice. Check the machine’s reach against the deepest point and consider whether it can work from firm ground around the full pond.
How do I choose an excavator and confirm hire arrangements?
To choose an excavator, provide your pond dimensions, access details and expected hire duration. Check that the machine’s size and reach suit the site, and clarify the hire period and booking arrangements before confirming. This helps you check that the planned hire meets your project needs.
Do I need to check for underground utilities before excavating a pond?
Yes. Identify buried services before excavation, including those crossing the pond footprint, machine access route or spoil movement area. For example, a cable route near a garden outbuilding could be affected even if it sits outside the planned pond edge. Use available service plans to inform the work area, and resolve uncertain service locations before bringing excavation machinery onto the site.
What are the steps for excavating and shaping a pond?
First, mark the pond outline, shelves and deepest point. Separate topsoil from other excavated material, then remove soil in controlled layers while forming the planned profile. Shape gradual sides and any planting shelves as excavation progresses. Check the levels against the design, refine the edges with a grading bucket, and prepare a smooth, clear surface if you plan to install a liner.
Comments